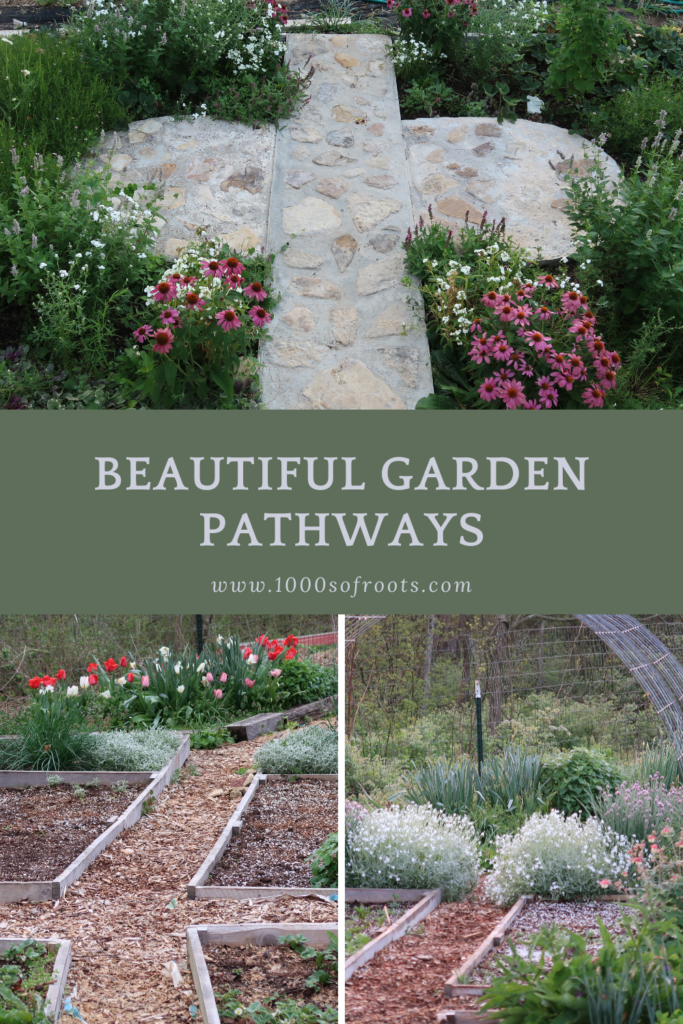
There’s nothing more inviting than beautiful, functional garden pathways. They are often overlooked in the process of setting up a new garden space. But they are just as important as the beds that grow food. Without them, a garden cannot function. So sit back and enjoy the journey as we look at seven different garden pathway ideas. And if you are in need of some garden pathway inspiration, I hope you find it here.

A Little History Before We Begin The Journey
Before we look at those garden pathway ideas, I should mention that our family has been gardening in the Ozarks of Missouri for many years. We are in zone 6b and get heavy rains as well as summer droughts. We deal with all kinds of extremes, but we love it here.
When we first started gardening in Missouri, we didn’t pay much attention to our garden pathways. We left them mostly bare that first year and as you can imagine, we had an almost impenetrable jungle on our hands. By August, I had given up on the garden all together. We learned an important lesson that year. Functional garden pathways are vital for even the most avid gardener and if they are beautiful too, all the better.
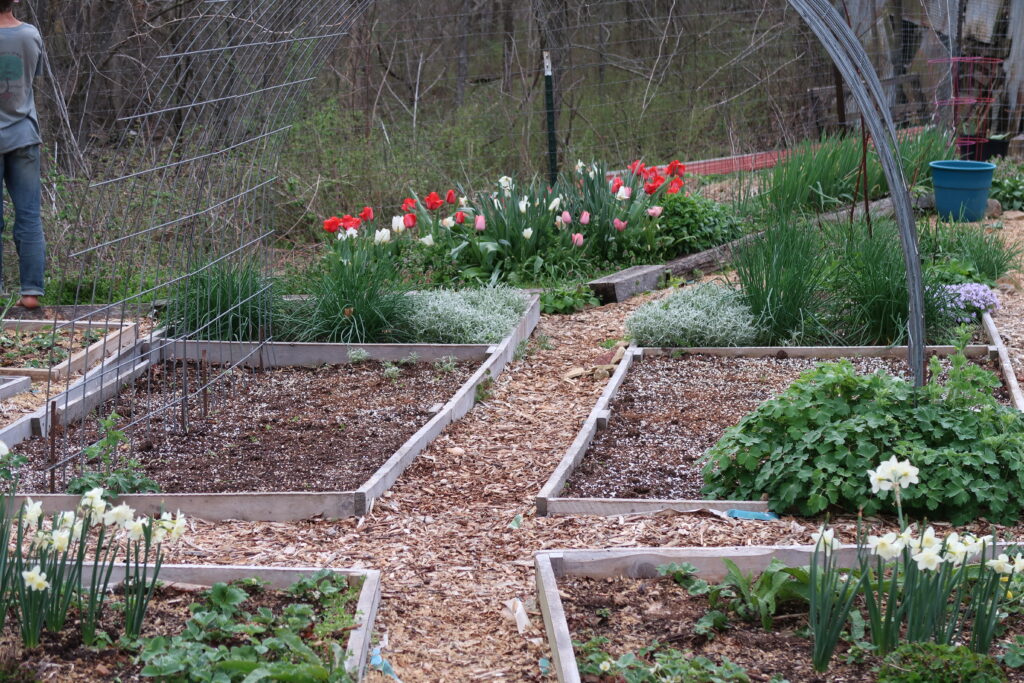
Woodchip pathways
If you’ve heard of “Back to Eden” gardening methods, you’ve probably thought about using woodchips for garden pathways. Woodchips have served us well in the garden over the years. We are often able to get them for free when the local tree service workers come through our neighborhood. They are an inexpensive, easy to apply material for garden pathways.
The process of creating woodchip pathways is simple. Just throw down some cardboard to help smoother weed growth. Apply a good six inch layer of woodchips and you’re done, until the next year.
Pros of woodchip pathways:
- they are often cheap or even free.
- they help suppress weeds and weeds that do grow are easy to pull.
- you can re-use them in garden beds as they break down.
- they are quick and easy to put in place.
- they are natural looking.
Cons of woodchip pathways:
- they can harbor ticks.
- they are a little rough on bare feet.
- they wash away easily if you live in a place that gets heavy rains.
Sawdust Garden Pathways
So it’s probably pretty obvious that sawdust and woodchip pathways are very similar. They are made of the same material and are set up in much the same way. If you live near a saw mill as we do, you can often get sawdust for free or for a small fee. Sawdust is superior to woodchips in that it is softer on the feet and even easier to work with.
Pros of sawdust in pathways:
- it is super soft under foot.
- it’s cheap or even free.
- it helps suppress weeds very well.
- it can be re-used in your garden beds.
- it is one of the quickest and easiest pathways to put in place.
- it is natural looking.
Cons of sawdust in pathways:
- it can harbor ticks, but not as much as woodchips.
- it washes away very easily in heavy rains.
Woven Landscape Fabric Pathways
These are fantastic, for the first year. Woven landscape fabric creates a quick and tidy pathway with very little effort. We have used it often, in a pinch. But, it is now being banned from our gardens as we look to set up more permanent pathways that will go the distance for us.
Some people are able to pull up their landscape fabric every fall and put it back down in the spring. Using that system, the fabric can last much longer and not become covered with dirt and weeds. So if you have a garden with a simple layout on level ground, landscape fabric may be a great option for you. Just be sure to pull it up in the fall or it will be covered with dirt just waiting to grow as many weeds as possible. And let me tell you, those weeds will not be easy to pull.
Pros of woven landscape fabric:
- it is quick and easy to set up.
- it prevents weeds the first year and following if taken up each year.
- it is tidy if set up correctly.
- it stays in place if set up correctly.
Cons of woven landscape fabric:
- it can be expensive.
- it is not sustainable.
- it can get hot under foot for little ones with bare feet.
- it takes quite a bit of maintenance.
- weeds can sprout on tiny bits of dirt on the top of the fabric and they are near impossible to pull.
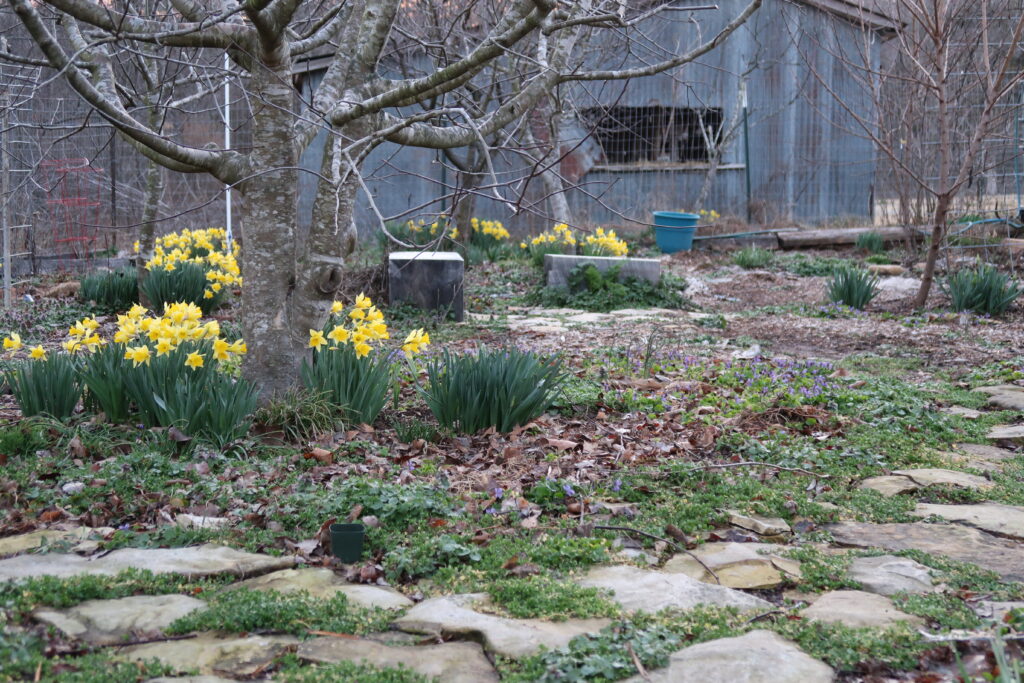
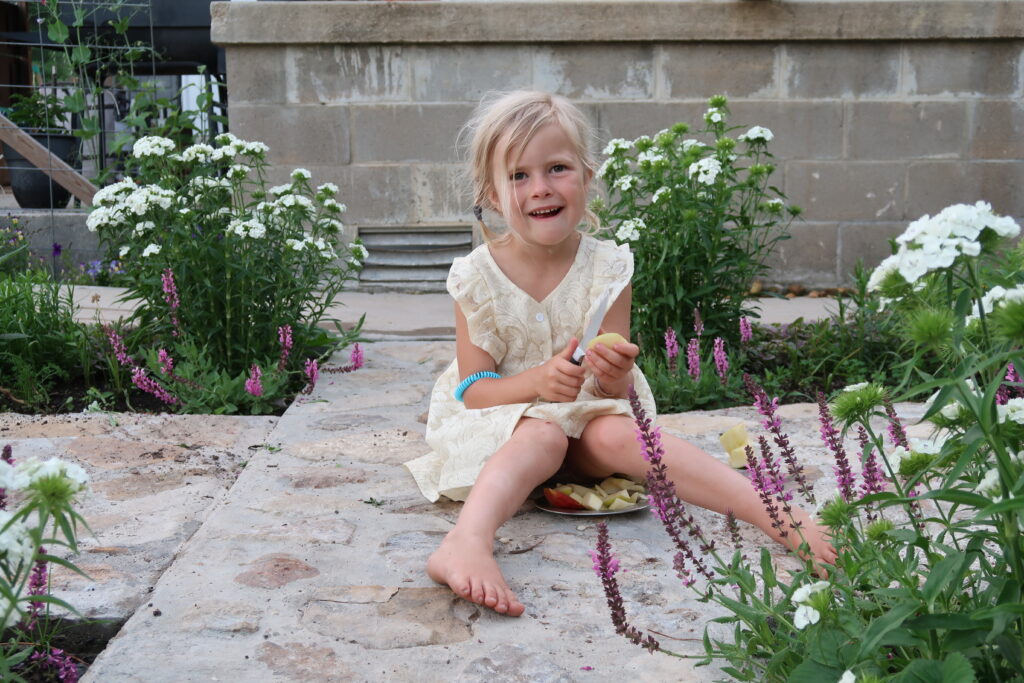
Beautiful Rock Pathways In The Garden Orchard
We are all about using resources off of our land. And let me tell you, we have a ton of rocks, no tons of rocks. We also have many beautiful varieties of moss on our creek hillsides that settle happily in shady areas amongst rocks. Flat rock pathways with living plants in the cracks are one of the most natural and inviting pathways we have created in our garden.
With a little muscle strength, rock pathways are fun and easy to set up. We put down our old chicken feed bags to helps suppress the weeds. Then we added a shallow layer of sand and pea gravel mixed. The rocks were placed like puzzle pieces into the mixture and leveled. Last, moss was tucked happily into all the cracks.
Pros of rock pathways:
- they are often free.
- they are natural and beautiful looking.
- they are easy to set up, with a bit of muscle.
- they help suppress weeds.
- they are fun to walk on.
- they stay in place even in heavy rains.
Cons of rock pathways:
- sometimes the rocks crack (just add more moss).
- some weeds grow in the cracks over time.
Cement pathways are One and Done
By far the most expensive of all the pathways we have put in to this point, cement has one BIG thing going for it. We will likely never have to pull another weed in any space where cement has taken up residence. Cement is a great option for the main access pathways going through the garden. We have plans for three to four foot cement pathways for all of our main access runs through our gardens.
Pros of cement pathways:
- they are clean and tidy.
- they are almost maintenance free.
- they suppress weeds forever-ish.
- they are pleasant to walk on.
- they can take the heavy rains with ease.
Cons of cement pathways:
- they are expensive!
- that’s about it.
Beautiful Cobblestone Garden pathways
These beautiful DIY garden pathways have quickly become my favorite. Cobblestone is both natural looking and maintenance free. And it’s not quite as expensive as cement. It’s not the easiest of pathways to put in place, but you don’t have to be a professional to create such beauty.
Once you have your forms in place, it’s just a layer of gravel, a layer of Quikrete watered in, and then a final layer of rocks and Quikrete watered in again. It’s important to make sure you use the right rocks. They must pass the throw down on the ground crack test. And they should be kept at least three inches from edges and be about two inches thick.
Pros of cobblestone pathways:
- they are clean and tidy.
- they look natural and beautiful.
- they are almost maintenance free.
- they suppress weeds super well.
- they are lovely to walk on.
- they don’t wash away in heavy rains.
- they can be installed by hand.
Cons of cobblestone pathways:
- they are somewhat expensive.
- can’t thing of anything else.

Beautiful Pea Gravel Pathways
Although it is not my favorite, pea gravel comes in second and is the material we have chosen to use for most of our garden pathways. It is very inexpensive and can be put in place very quickly over a layer of cardboard. Pea gravel has a natural look to it especially when paired with large native stone edging. If you can’t decide which garden pathway to choose, this might be the one for you.
Pros of pea gravel pathways:
- they look clean and tidy.
- they are natural.
- they are cheap.
- they are quick and easy to put down.
- they are exfoliating to bare feet.
- they suppress many weeds.
- they don’t wash away easily in heavy rains.
- children love to play in them . . . who needs a sand box?
Cons of pea gravel pathways:
- they don’t prevent all weeds, but weeds are easy to pull out of pea gravel.
what’s your favorite garden path material?
Let the journey continue in the comments below. Please share your experience with garden pathways. What’s your favorite garden pathway?
Pin It For Later
Leave a Reply